-
1
Turn Off the Water Supply
Start by switching off the water supply to your shower. This prevents accidental splashes or leaks while you work.
-
2
Remove the Old Showerhead
Carefully unscrew your existing showerhead. Use your hands for loosening, or an adjustable wrench if it’s tightly fitted. Keep a towel handy to catch any leftover water.
-
3
Clean the Shower Arm
Once removed, wipe the threaded end of the shower arm clean. Remove any dirt, debris, or old plumber’s tape to prepare for a smooth installation.
-
4
Apply Plumber’s Tape
Wrap the provided plumber’s tape snugly around the threads of the shower arm. This ensures a watertight seal and prevents leaks.
-
5
Attach the Connector
Screw the connector onto the shower arm. Hand-tighten until secure, but avoid over-tightening to protect the threads.
-
6
Connect the Hose
Attach one end of the hose to the connector and hand-tighten. It should feel firm but not forced.
-
7
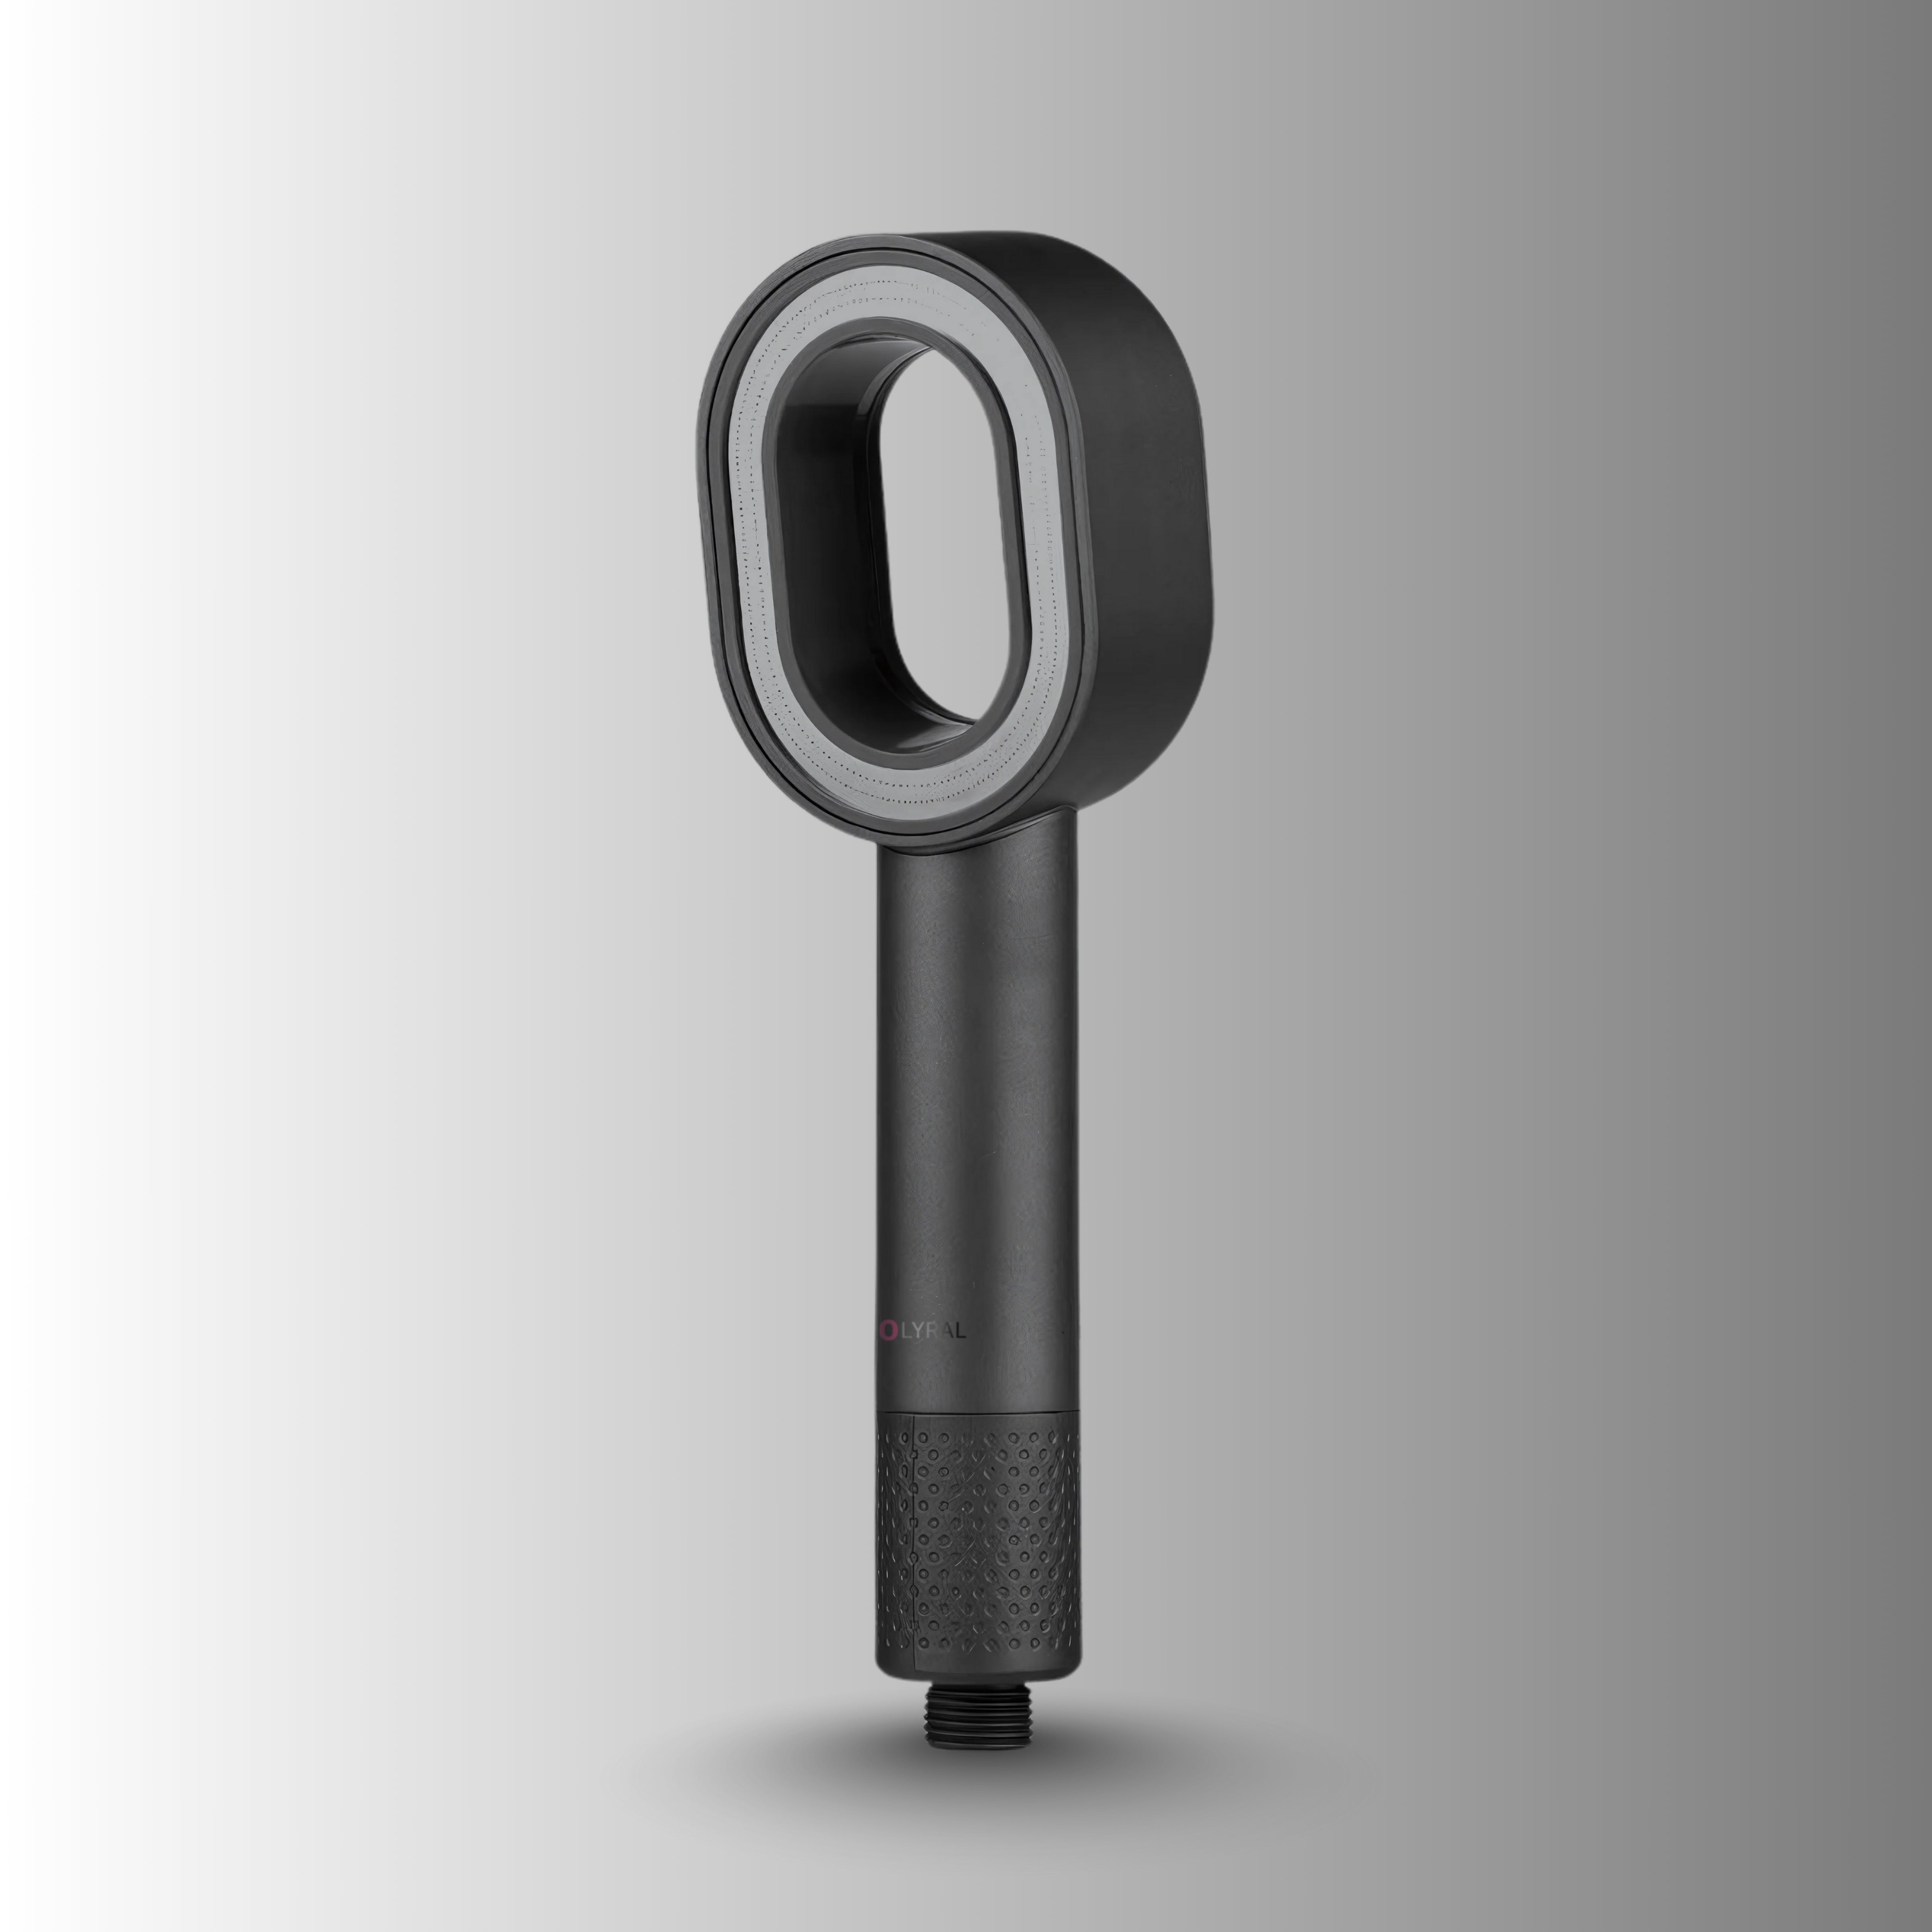
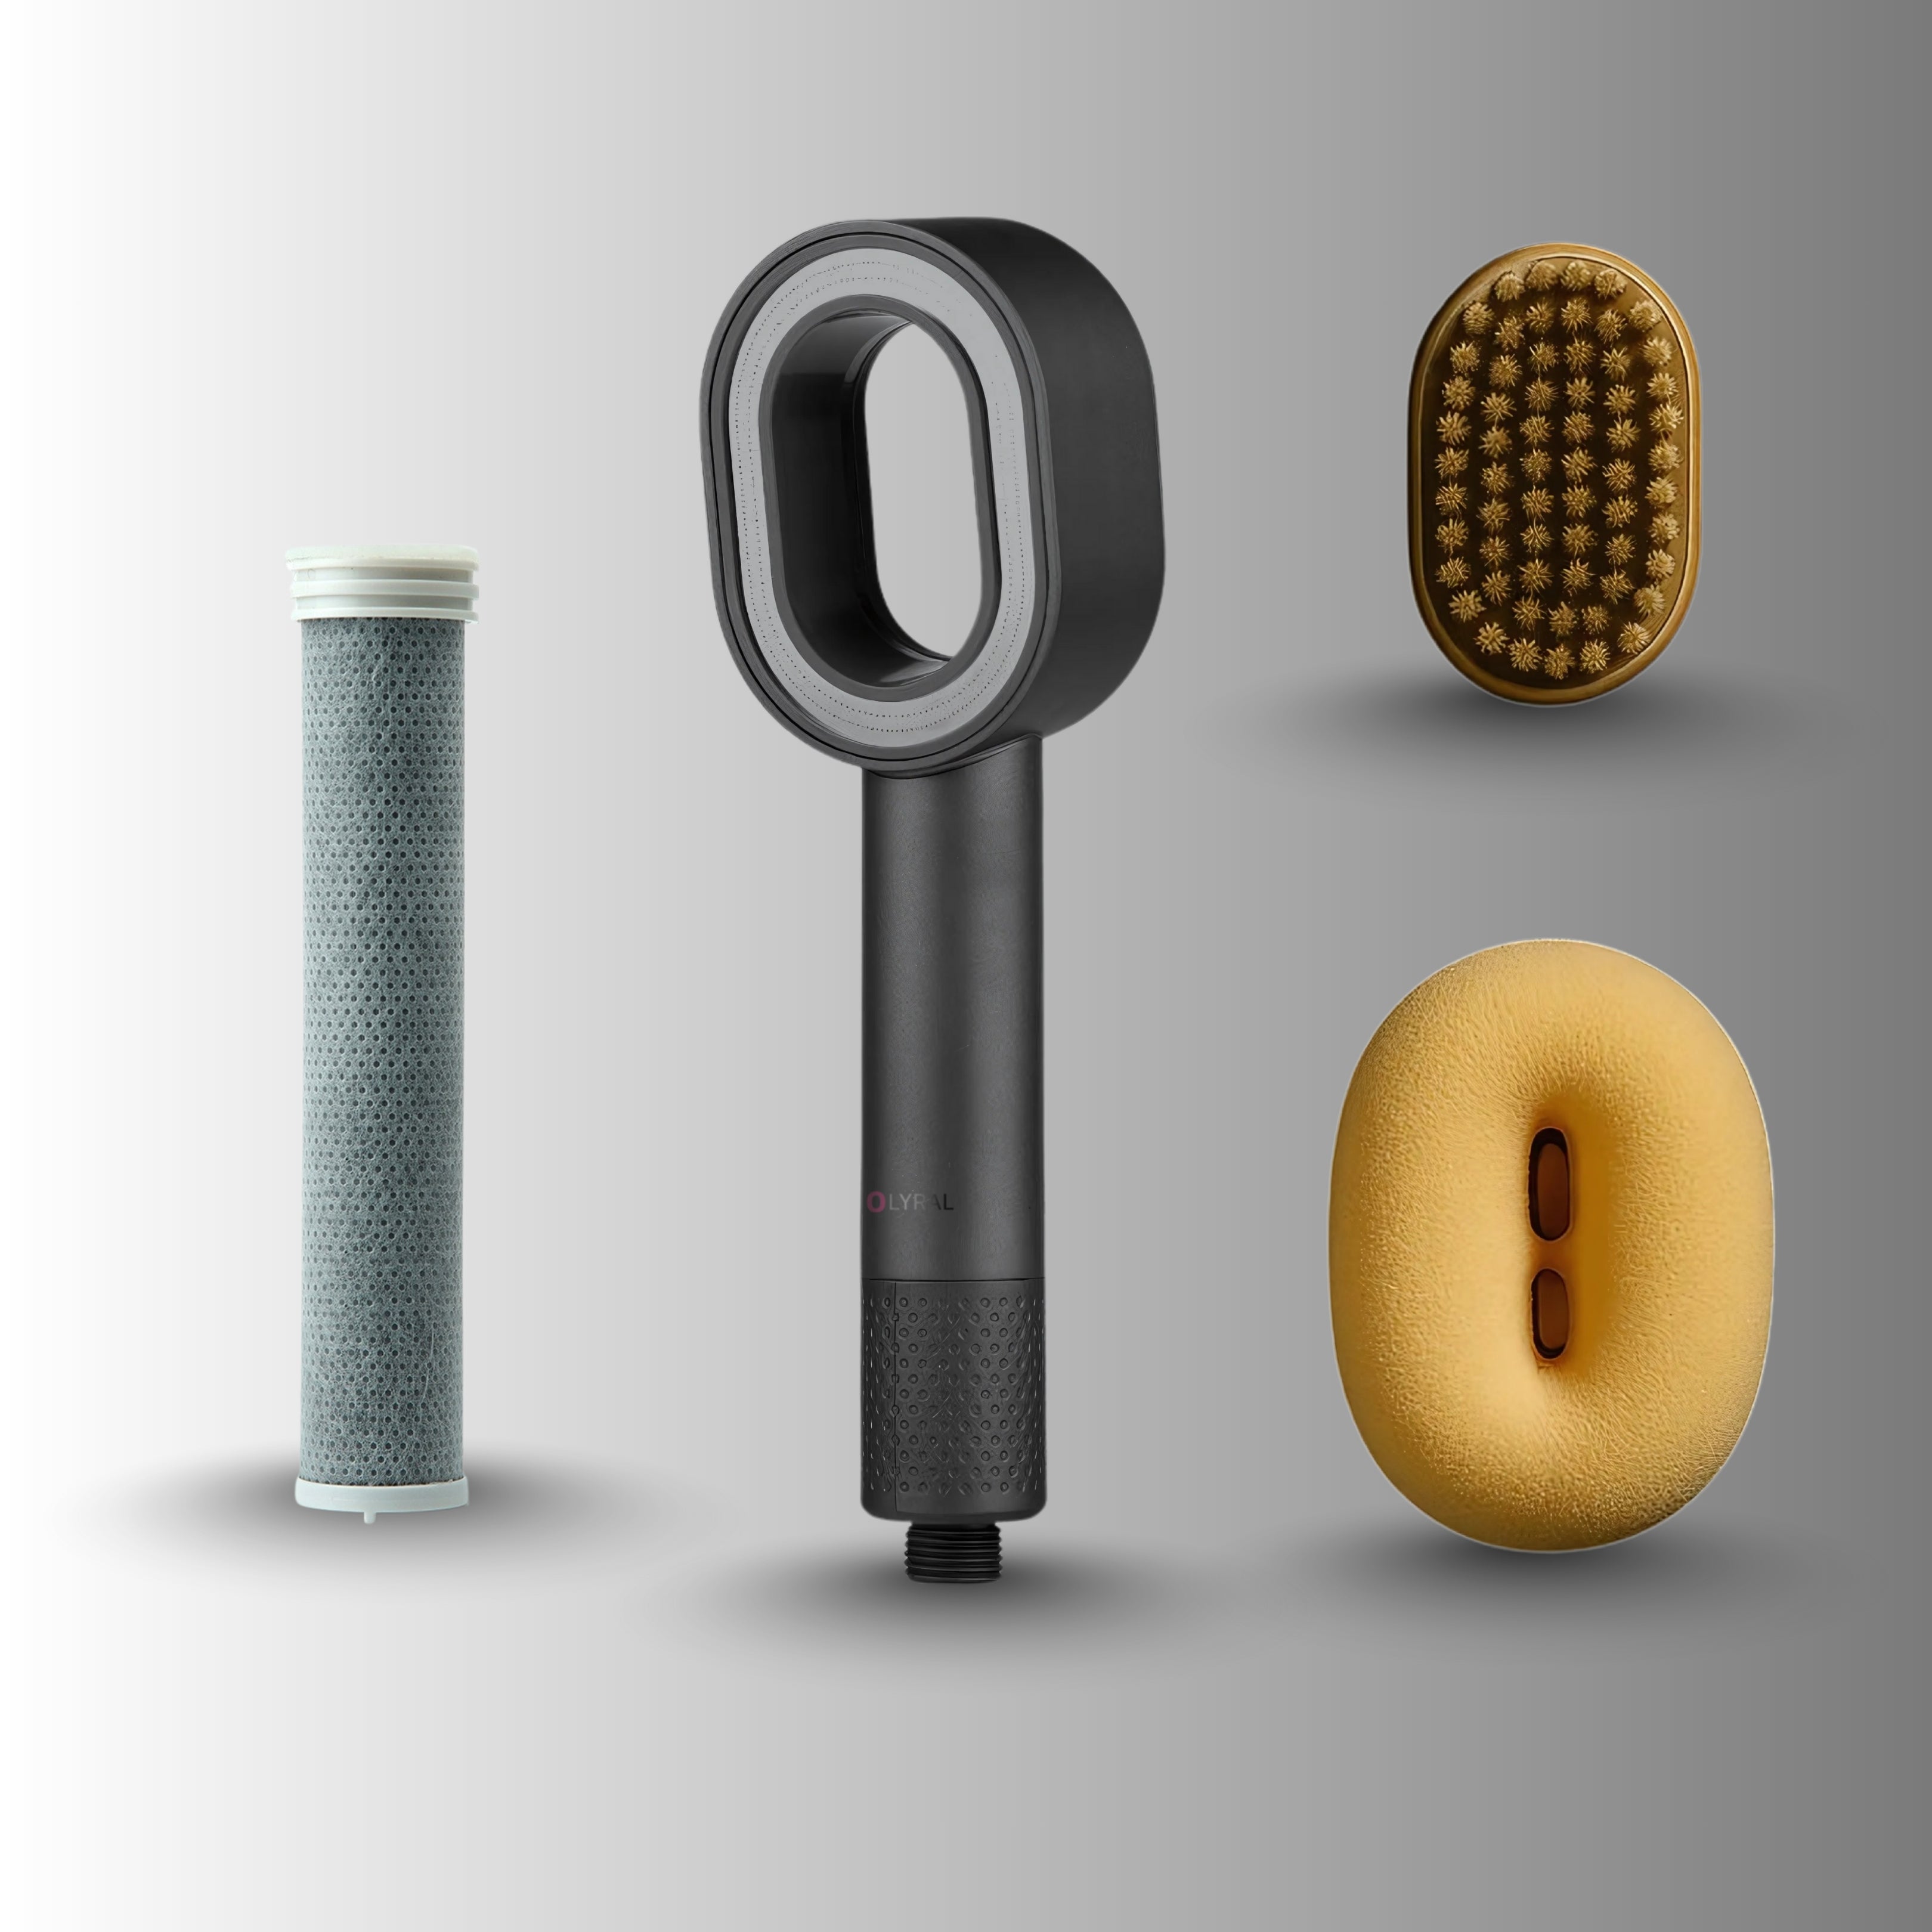
Attach the Olyral Showerhead
Connect the other end of the hose to your Olyral showerhead. Tighten securely by hand.
-
8
Turn On the Water Supply
Slowly turn the water back on, letting the pressure build up gradually. Check each connection point for leaks. If you notice any, re-tighten or add another layer of plumber’s tape.
-
9
Adjust the Showerhead
Position your showerhead at the angle that suits you best for a comfortable experience.
-
10
Test the Flow
Turn on the shower to confirm smooth water flow. Double-check for leaks and make small adjustments if needed.


